Small Space, Big Style: Custom Cabinets for Small Kitchens & Bathrooms in Cambridge / Kitchener
When your kitchen or bathroom is on the smaller side, every detail matters. But small doesn’t mean limited. With smart custom cabinets, you can make your compact spaces feel elegant, efficient, and spacious. This guide from Grace Cabinets (serving Cambridge & Kitchener) shows how to maximise function and style — and help your site attract local search traffic.
Why Custom Cabinets Work Wonders in Small Spaces
- Precise fit: Stock cabinets often leave odd gaps or force compromises because they come in fixed sizes. Custom lets you design around sloped ceilings, pipes, windows, or uneven walls.
- Use vertical space: Small footprints don’t prevent you from going tall. Ceiling-height cabinets or full-height storage columns reclaim lost inches.
- Built for your climate: In Kitchener / Cambridge, humidity and seasonal changes stress materials. Custom cabinets can utilise moisture-resistant cores, sealed edges, and finishes tailored to local conditions.
- Aesthetic cohesion: A unified custom design can make a compact space feel thoughtful instead of cramped.
Tip: When choosing materials and finishes, take home sample pieces and test them under your lighting (day & night) — what looks good in a showroom can change dramatically under your own lights.
Section 1: Layout & Space‑Saving Strategies
1.1 Vertical Storage Is Your Best Friend
Instead of stopping upper cabinets a few inches below the ceiling, extend them fully. Use the topmost shelves for seasonal or seldom-used items.
1.2 Shallow Uppers & Slim Modules
Use reduced-depth upper cabinets in zones where you don’t need full depth (e.g. above backsplashes or near windows). Use narrow pull-outs for oils, spices, baking sheets, etc.
1.3 Clever Corners
Don’t leave corner cabinets as dark dead space. Use rotating carousels, “LeMans” kidney trays, or diagonal fronts to make corners accessible.
1.4 Drawer-First Approach
In the lower cabinet run, favour drawers over doors. Deep drawers can hold pots, pans, and large items more easily.
1.5 Floating Cabinets & Open Legs
Especially in bathrooms, floating vanities with lighting underneath help the floor show, giving the perception of more space.
1.6 Slide, Fold, or Pocket Doors
Where swing doors might hit counters or walls, consider sliding or bi-fold doors for compact zones.
Section 2: Style & Visual Tricks That Open Rooms
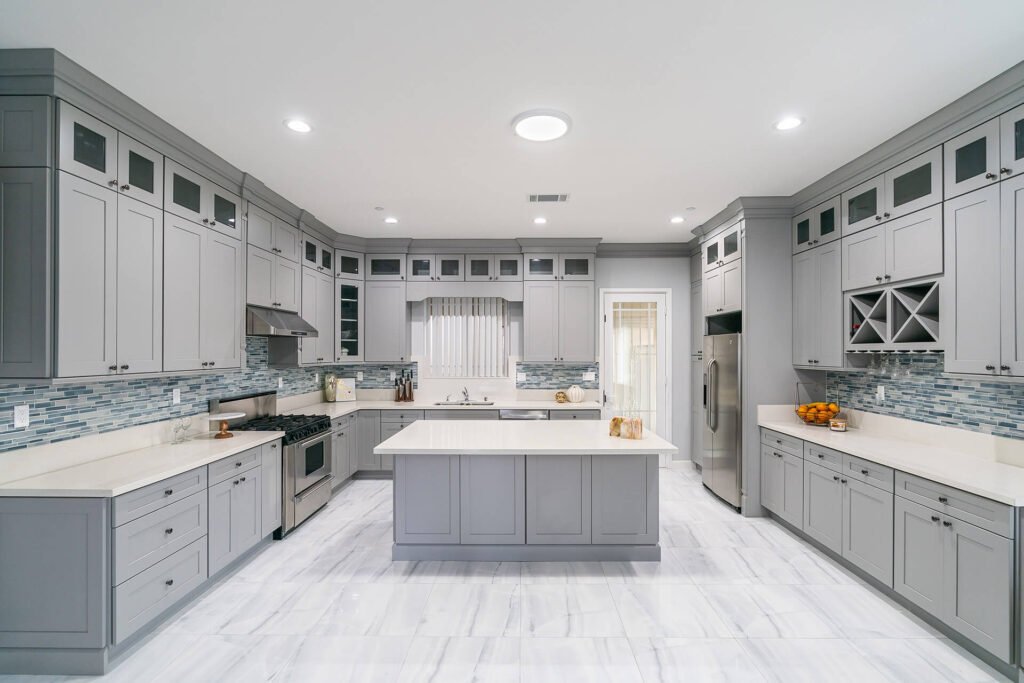
2.1 Light, Reflective Colours & Finishes
Soft whites, pale greys, and muted wood tones reflect light. Glossy or semi-gloss finishes can bounce light, but balance them with matte surfaces to avoid glare.
2.2 Glass-Front Uppers & Open Shelving
Use glass fronts or open shelving selectively (upper cabinets, display zones) to break up visual mass and let light through.
2.3 Minimal Hardware or Handle-Less Styles
Slim pulls, recessed profiles, push-to-open mechanisms — fewer visual interruptions help a space feel larger.
2.4 Integrated Lighting
Install LED strips under cabinets, between shelves, or inside glass cabinets. Lighting defines layers, reduces shadows, and adds depth.
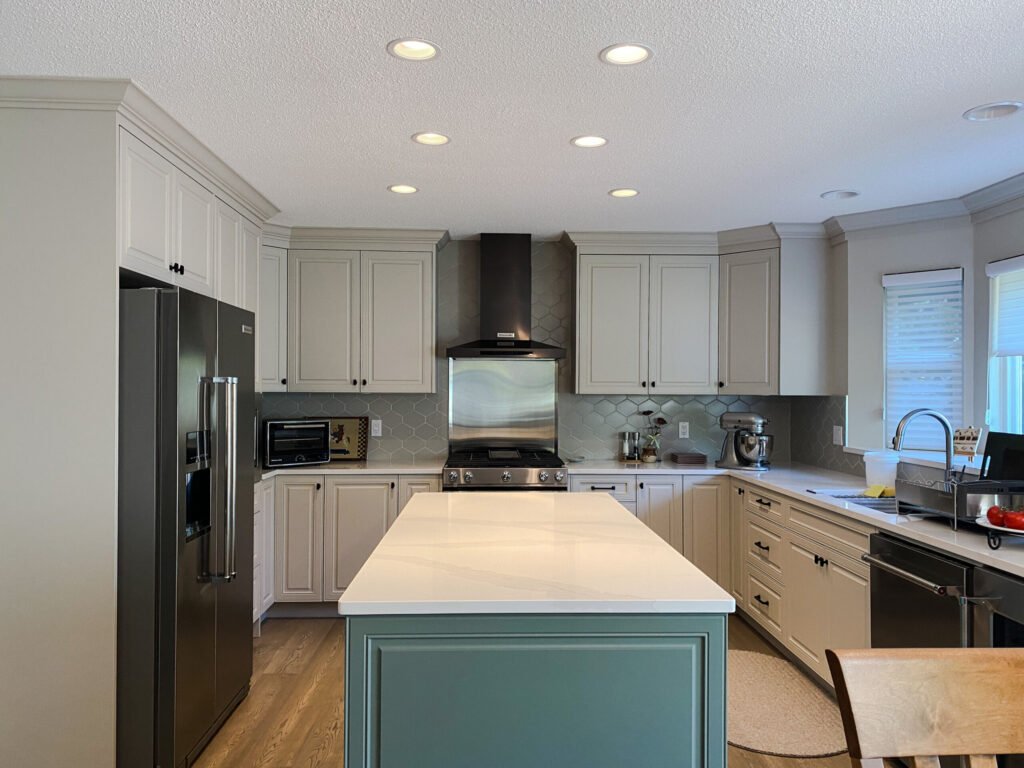
2.5 Contrast & Two-Tone Schemes
For example, a lighter upper cabinet paired with a slightly darker base helps ground the space without overwhelming. Accent pieces (a wood grain, a bold coloured door) can anchor the eye.
Section 3: Material, Construction & Durability
3.1 Choose a Sturdy Core
Opt for plywood or moisture-sealed MDF. Avoid standard particle board in moisture-prone zones like bathrooms or wet kitchens.
3.2 Seal Every Edge
Every exposed edge, underside, and door perimeter should be sealed (lacquer, polyurethane, edge banding) to resist humidity and warping.
3.3 Quality Hardware
Use soft-close hinges and full-extension slides. Corrosion-resistant metals (stainless, powder-coated) help in humid environments.
3.4 Backsplash & Counter Integration
Have backsplash panels overlap cabinet edges slightly to divert moisture. In tight layouts, integrated backsplash + cabinet design avoids gaps.
Section 4: Optimization & Organization Tips
4.1 Build Zones
Group related items (cooking, cleaning, prep) in logical clusters. Organise your cabinet run so you don’t have to zigzag across the room.
Homes & Gardens suggests creating zones to keep your cabinetry efficient.
4.2 Adjustable Shelving & Removable Inserts
Don’t fix everything forever. Adjustable shelf heights let you reconfigure for tall items later. Use inserts or modular bins for flexibility.
4.3 Use Narrow Gaps & Fillers
Create slim “infill” drawers — 3”–4” pull-outs that fit between appliances or cabinets to store utensils or trays.
4.4 Keep Open Space Visually Light
In some runs, use open shelving or fewer upper cabinets so your ceiling feels higher and less boxed in.
Section 5: Local Considerations for Cambridge / Kitchener
- Adjust for uneven walls & floors – Many older houses in the area aren’t perfectly square. Custom cabinets built on-site or templated help avoid ugly gaps.
- Account for heating vents and baseboards – Plan cabinets so vents aren’t blocked, and toe kicks allow airflow.
- Consider seasonal moisture swings – Use finishes and construction that can handle summer humidity and cold winters.
- Match local design trends – Buyers and homeowners in our region like styles that are modern but not stark; combining warmth and minimalism tends to work well.